Here's what you need to bring: needles (sewing, embroidery & beading), thread (white or off-white sewing thread & beading thread), beeswax, straight pins, scissors, any embellishments from your own stash that you might like to use, seed beads-"pearl-y" colors, gold, silver or any of your favorite colors.
Kit Cost: $10
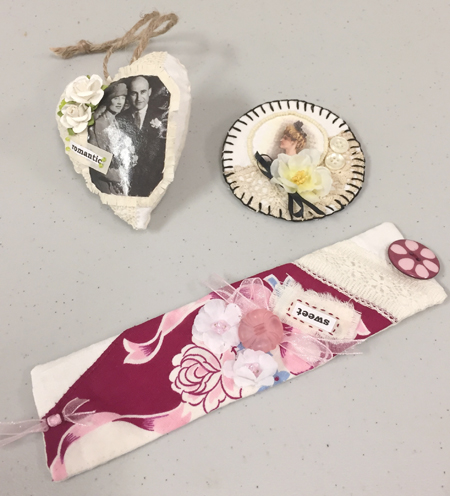
Materials in Kit: interfacing backed vintage fabric, interfacing backed muslin, vintage lace, vintage hankie, flowers, a few buttons, pin back, ribbon, a small amount of seed beads, embroidery floss, twine, stuffing, a picture (varies), words (varies), and pearls.
To reserve your kit, please email Jan Johnson at janjohnson55@comcast.net and your name will be logged in by date received. Reservations are being taken for the kit only and the kit fee is to be paid at the meeting.
NOTE: Should you want to create your own image for the project, please follow the instructions listed below
1. Color copy your image (even a black and white photo).
You may want to reduce or enlarge your image to make it fit.
2. Cut out the image.
You can cut it out with a "frame" around the image (play with shapes--round, square, oval) OR you can carefully cut the image away from the background and just use the image.
3. Decoupage the image to fabric.
I use a piece of muslin that is about 1 inch bigger than the image on all sides.
Cover a flat surface with a piece of wax paper bigger than your fabric.
Use a paint brush to put a small amount of decoupage medium on the muslin about the size of your image.
Lay your image on the decoupaged spot image up.
Brush more of the decoupage medium over the image.
Make sure to fully adhere the image to the fabric.
4. Set the image aside until it is dry.
5. Once it is dry, take the muslin off the wax paper.
Congrats! You can now use your image.
|